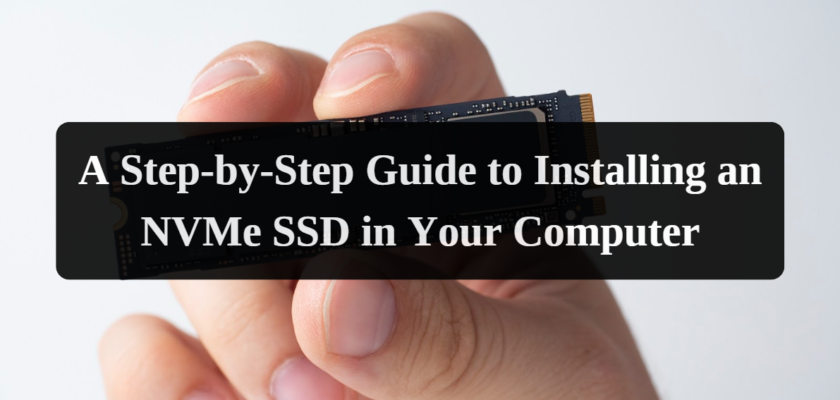
The speed of your computer largely depends on the type of storage it uses. If you want to improve your computer’s performance, upgrading to an NVMe SSD is one of the most effective ways. This guide will provide a step-by-step process for installing an NVMe SSD into your computer.
Understanding NVMe SSDs
NVMe, or Non-Volatile Memory Express, is a protocol designed to speed up access to the storage media. It operates over the computer’s high-speed PCIe (Peripheral Component Interconnect Express) interface.
Exploring the Advantages of NVMe Technology
– Speed: NVMe SSDs are significantly faster than SATA SSDs or HDDs.
– Performance: They have higher input/output operations per second (IOPS) and lower latency.
– Scalability: NVMe SSDs can handle more data simultaneously, making them suitable for heavy workloads.
Preparing for the Installation
Before starting the installation process, you must ensure you have everything required.
- Ensure that your motherboard supports NVMe SSDs. Also, check the length and width of the M.2 slot on your motherboard to ensure you buy a compatible SSD.
- You will need a screwdriver and, possibly, an anti-static wrist strap.
- Before starting the Installation, back up all your important data.
Locating the M.2 Slot
The M.2 slot is a small slot on your motherboard where the NVMe SSD will be inserted. It is usually labeled as “M.2” on the motherboard.
Inserting the NVMe SSD
- Turn off your computer, unplug it from the wall, and disconnect all cables connected to it.
- Open your computer case by removing the screws holding the side panel in place.
- Handle the SSD carefully by holding it by the edges and avoid touching the connectors or components on the SSD.
- Ensure that the notches on the SSD align with the ridges in the M.2 slot. Then, gently insert the SSD into the slot at a 30-degree angle.
- Once the SSD is inserted, secure it by fastening it with the appropriate screw provided by your motherboard or the SSD.
- Reattach all the cables and components that you disconnected earlier.
- Close the computer case by reattaching the side panel and tightening the screws.
- Plug in your computer, turn it on, and enter the BIOS/UEFI by pressing the appropriate key during startup.
- In the BIOS/UEFI, check if the SSD is detected. If it is, then the Installation was successful.
Data Migration and Initialization
Migrating Data to Your New NVMe SSD
If you want to use the new SSD as your boot drive, you will need to clone your existing drive onto the new SSD. Use reliable disk cloning software to do this.
Initializing and Formatting the NVMe SSD
If you use the SSD as an additional storage drive, you must initialize and format it. This can be done from the Disk Management tool in Windows.
Wrapping Up
Congratulations! You have successfully installed an NVMe SSD on your computer. Now, you can enjoy faster boot times and better overall performance. Make sure to back up your data to avoid any loss regularly.

