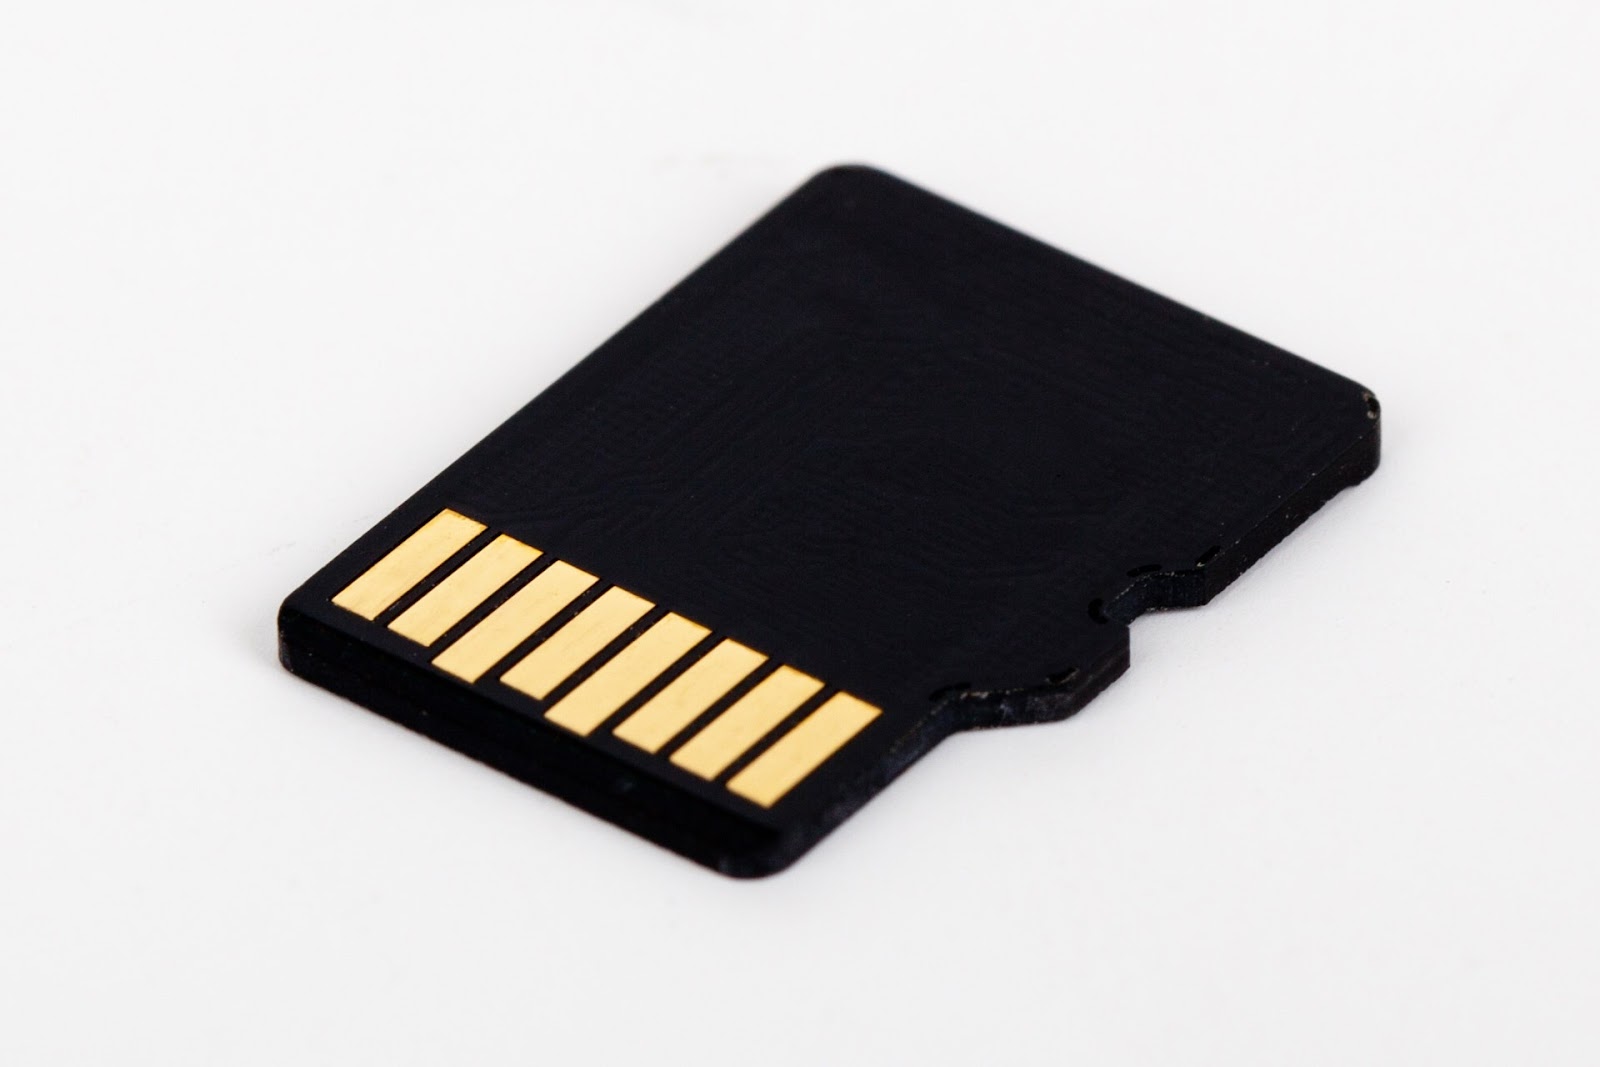
If you’re a Mac user, you’ve probably encountered a corrupted SD card at some point. This can be frustrating, especially if the card contains important data. But don’t worry, there are a few ways to fix and recover a corrupted SD card on your Mac.
All information about the SD card you will find on Wikipedia.
The first thing you should do is make sure the SD card is properly inserted into your Mac. Sometimes, a loose connection can cause corruption issues. If the SD card is properly inserted, try ejecting and reinserting it. This can sometimes reset the connection and fix the issue.
If that doesn’t work, you can try using Disk Utility to repair the SD card.
To do this, go to the Applications folder and open Disk Utility. Select the SD card in the left-hand panel and click on the “First Aid” button. Disk Utility will scan the SD card for errors and attempt to fix them.
If Disk Utility can’t fix the corruption, you can try using the command line to repair the SD card. Open the Terminal app and type in the following command:
“diskutil repairDisk /dev/disk#”
Replace “disk#” with the number assigned to your SD card. You can find this number by going to the Disk Utility app and looking at the left-hand panel. Once you’ve entered the command, hit Enter and wait for the repair process to complete.
If none of these methods work, likely, your SD card is severely corrupted and you’ll need to use data recovery software.
There are many options available, but some popular choices for Mac users include Data Rescue, Stellar Data Recovery, and EaseUS Data Recovery Wizard. These software programs can scan your SD card and recover any lost or deleted files.
Here’s a pick of the best data recovery apps for Mac.
Before you use data recovery software, it’s important to make sure the SD card is not being used by any other programs or processes.
To do this, go to the Finder app and click on the “Eject” button next to the SD card in the left-hand panel. Then, close any open programs that may be accessing the SD card, such as your photo or video editing software.
Once you’ve prepared the SD card, you can launch the data recovery software and follow the on-screen instructions to scan and recover your files. The process may take some time, depending on the amount of data on the SD card and the severity of the corruption.
After the recovery process is complete, it’s important to make sure the SD card is properly formatted and working properly.
To do this, go to the Disk Utility app and select the SD card in the left-hand panel. Click on the “Erase” button and choose a file system (such as exFAT or FAT32) and a name for the SD card. Click on the “Erase” button again to format the SD card.
Once the SD card is formatted, you can use it again and transfer your recovered files back onto it.
Be sure to regularly back up your data to avoid losing important files in the future.

In summary, if you encounter a corrupted SD card on your Mac, try ejecting and reinserting it, using Disk Utility to repair it, or using the command line to repair it. If none of these methods work, use data recovery software to recover your files. Finally, format the SD card and transfer your recovered files back onto it. With these steps, you can fix and recover a corrupted SD card on your Mac.