Introduction
Solid State Drives (SSDs) have become increasingly popular due to their speed, durability, and performance enhancements over traditional Hard Disk Drives (HDDs). As the digital age progresses, our need for data storage has increased exponentially, and carrying data with us has become a daily necessity. Most of us have an old SSD lying around that we replaced from our computer or laptop, and instead of disposing of it or letting it collect dust, we can transform it into a portable external storage device. This article aims to guide you through converting your SSD into portable external storage and how to make the most out of it.
Advantages of Using an External SSD
The Speed Advantage
SSDs are significantly faster than traditional hard drives because they use NAND-based flash memory to store data, which allows for quicker data transfer rates. This means files can be transferred, opened, and edited much more quickly using an SSD. Additionally, SSDs have no moving parts, which reduces the risk of mechanical failures and increases the drive’s lifespan.
Portability and Convenience
External SSDs are compact, lightweight, and durable, making them an ideal choice for people who are always moving. They can easily fit into a pocket or a small bag, and because they are solid-state, they can withstand bumps and drops much better than traditional hard drives.
Choosing the Right External SSD
Factors to Consider in Selecting an External SSD
Before transforming your SSD into portable external storage, you must ensure that it is the right fit for your needs. Consider the following factors:
– Capacity: Ensure the SSD has enough storage capacity for your needs.
– Speed: The speed of the SSD will affect how quickly you can transfer and access your data. Check the read and write speeds of the SSD.
– Durability: Ensure that the SSD is in good working condition and has a long lifespan ahead. – Compatibility: Check if the SSD is compatible with your operating system and devices.
How to Use an External SSD on Your Laptop
Connecting an External SSD to Your Laptop
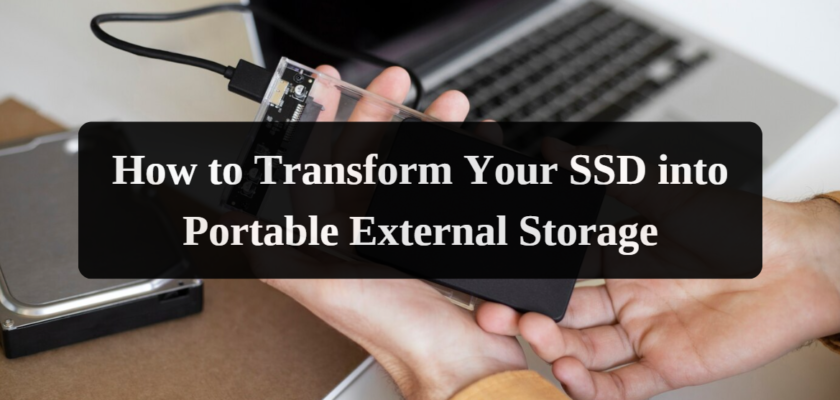
To use an SSD as an external storage device, you will need an external SSD enclosure. This case holds the SSD and connects it to your computer via a USB cable.
1. First, place the SSD into the enclosure and secure it according to its instructions.
2. Connect the enclosure to your laptop using the provided USB cable.
3. Your laptop should automatically recognize the SSD as an external storage device.
Setting Up the External SSD as Additional Storage
1. If the SSD has not been formatted or you want to wipe it clean, you must format it. Note that formatting the SSD will erase all data on it.
2. Open the Disk Management tool on your laptop and locate the connected SSD.
3. Right-click on the SSD and select ‘Format.’
4. Follow the on-screen instructions to format the SSD.
The Process of Connecting an SSD to a Laptop Externally
Step-by-Step Guide to Connecting an SSD Externally
1. Firstly, ensure that the SSD is properly secured in the external enclosure.
2. Connect the enclosure to your laptop using a USB cable.
3. If necessary, format the SSD using the Disk Management tool on your laptop.
4. The SSD should now be ready to use as external storage.
Checking Compatibility and Necessary Cables
Ensure the SSD and the enclosure are compatible with your laptop and operating system. Also, ensure you have the cables to connect the SSD to your laptop.
Using Your SSD as External Storage
Transferring Data to Your External SSD
Transferring data to your external SSD is as simple as dragging and dropping files from your laptop to the SSD. You can also transfer data from the ‘Copy’ and ‘Paste’ functions.
Organizing and Accessing Data on Your External SSD
You can organize your data on the external SSD just like you would on your laptop’s internal storage. Create folders and subfolders to keep your data organized and easily accessible.
Safely Disconnecting the External SSD
Properly Ejecting the External SSD
Before disconnecting the SSD from your laptop, make sure to eject it to prevent data loss or corruption properly. Locate the ‘Safely Remove Hardware’ icon in the system tray, right-click, and select ‘Eject.’ Once the system notifies you that it is safe to remove the device, you can disconnect the SSD from your laptop.
Making the Most of Your External SSD
Now that you have transformed your SSD into portable external storage, you can use it to carry your data wherever you go. Use it to back up important files, carry large files that won’t fit on your laptop’s internal storage, or share files with others. Regularly backup your data and keep your SSD in a safe and dry place to ensure longevity.
Conclusion
Transforming your SSD into portable external storage is a straightforward process that can help you make the most out of your old SSD. With an external SSD, you can carry your important data wherever you go and access it quickly and easily. Remember to eject the SSD before disconnecting it from your laptop and to regularly back up your data to ensure its safety.

